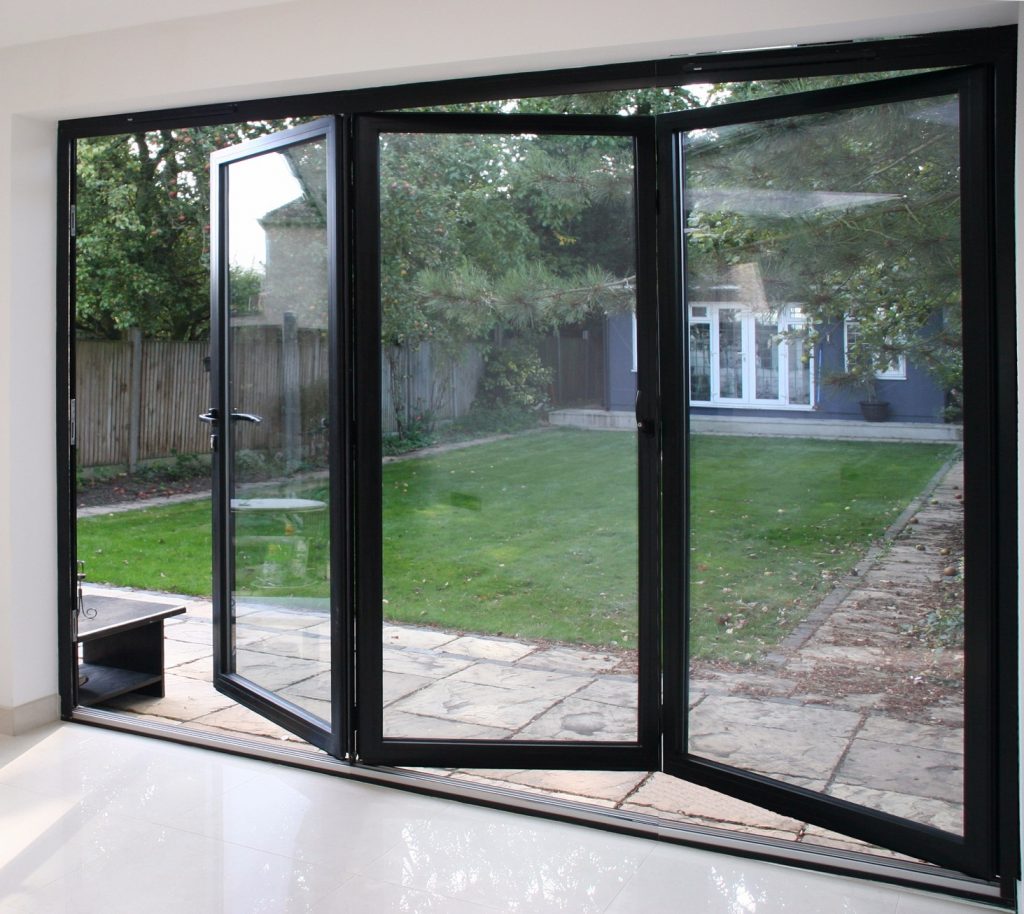
How To Make A Bifold Door
A bifold door is a great solution for closets when you need complete access. They are also popular to use as room dividers. Creating your own is something you can do without the help of a professional. Here’s how.

Step 1: Measure Your Opening
Since it is easier to trim excess wood off than put wood back on, be sure to measure the opening first. Again, many hardware stores sell pre-made doors that will go well as part of a bifold set. Just be sure that you measure the area first before purchasing. As an example, a 36 inch opening would need two 18 inch doors in a bifold pattern to cover the opening. Make sure each piece also does not have a hole for a regular door handle.
Step 2: Trim the Door
Use the saw to trim 1/8 of an inch off of the door that will be mounted on the casing side. This will help the door fit into the hole better.
Step 3: Mark Where the Hinges Will Go
The hinges should be spaced equally apart and there should be three hinges total. They should go top, middle, and bottom, with the top and bottom hinges at least three inches from the end of the wood. Use the level to make sure the wood is level when marking hinges. If not, the weight will not be evenly distributed and the door will start hanging.

Step 4: Mount the Hinges on the Casing
Lay both door panels face down on the ground. Both doors should be square next to each other with the tops and bottoms even. At this point, the doors should look like how they are going to look when they are closed. On the second door, also mark where the hinges will be, as the marks should be even. Mount the hinges on each door with the screws from the mounting hardware kit. There should be the exact number of screws needed.
Step 5: Mount the Doorway Hinges
Attach the doorway hinges themselves into the doorjambs where you want the door to go. They should correspond on the doors where they will be mounted. If in doubt, follow the guide printed with the mounting hardware for a diagram. Make sure the mounting hinges are evenly spaced to prevent the door from hanging.
Step 6: Mount the Door into the Door Jambs
Have someone hold the door as you screw the mounts that are already on the door jambs into the door. The doors should not be released until all three mounts have been secured. Otherwise, this can rip the screws out of the wall and damage both the wall and the doors. If needed, you can shave more of an edge off the door in order to make it fit properly.